
This post contains affiliate links. As an Amazon Associate I earn from qualifying purchases.
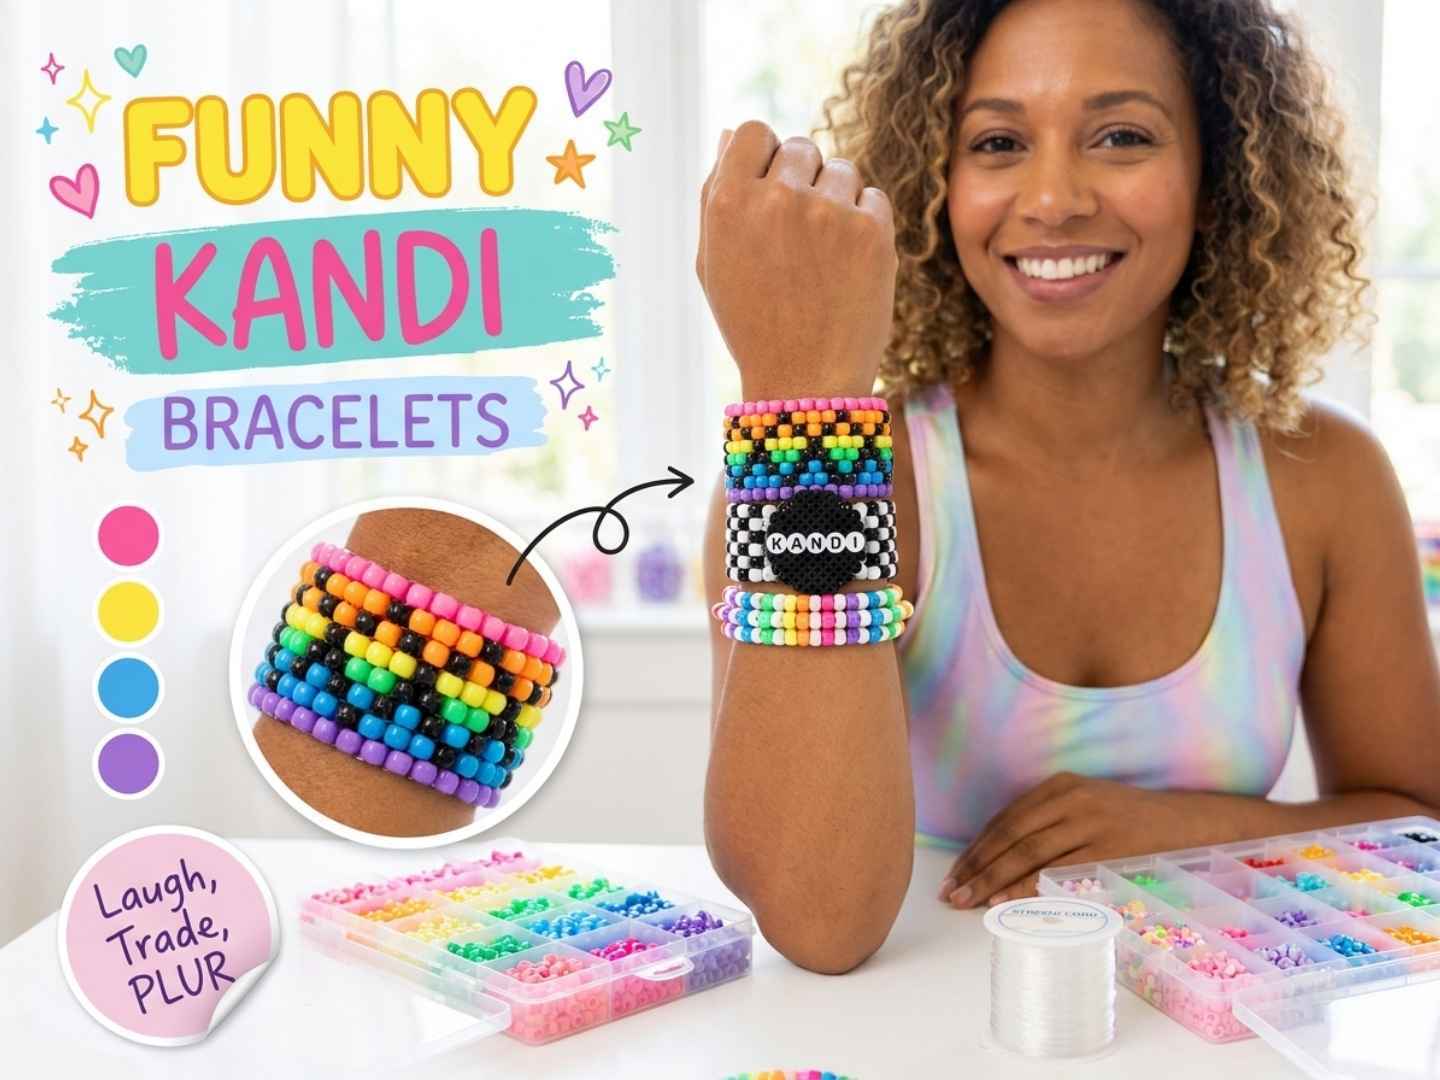
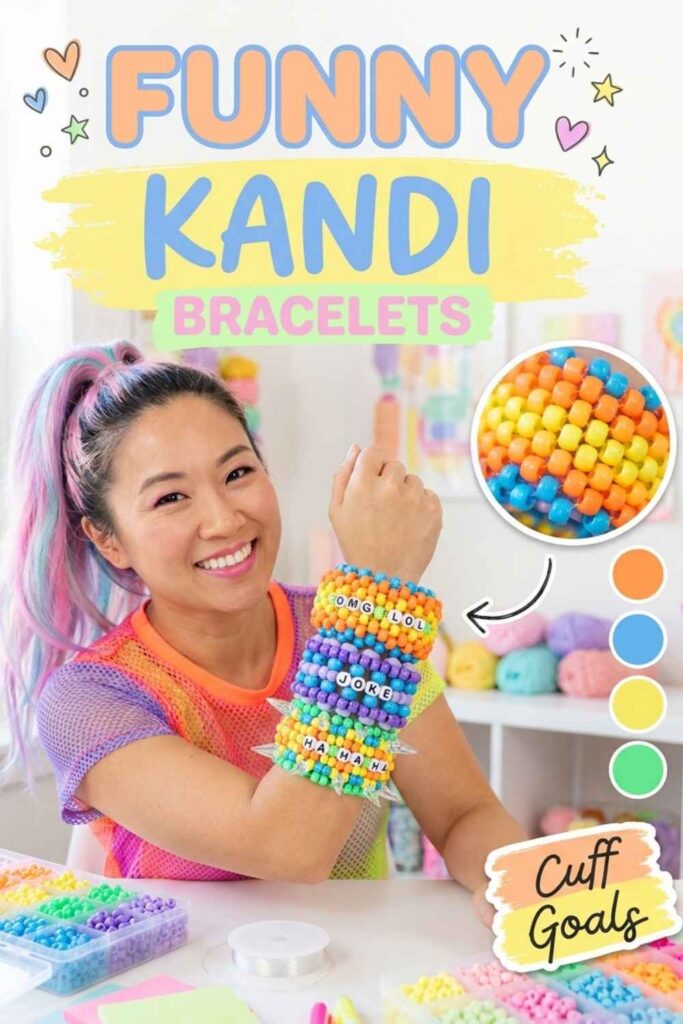
Kandi is meant to be fun, and funny kandi bracelets are the easiest way to get a laugh, start a conversation and make a trade at the next rave. A meme spelled out on a wide cuff, a pony bead lizard riding on your wrist or a fidget cuff you can’t stop spinning will get noticed in any crowd.
This collection covers 20 free video tutorials and idea videos, each credited to the creator who made it. You’ll find wide cuffs that work as a canvas for jokes, 3D critters, stim and rotator pieces, oversized showpieces, small beaded accessories and a few practical guides on string and selling your kandi. Every project includes two practical tips and a short list of supplies.
To choose, start with your skill level and how you plan to wear the piece. Beginners should try the singles-friendly ideas and the X-base cuff first, while experienced beaders can go for 3D cuffs, rotators and oversized builds. If you mostly trade, pick quick designs you can make in batches; if you want one statement piece, go big and go bold.
Quick List
- Kandi X-Base Meme Cuff Bracelet
- Kandi 3D Statement Cuff Bracelet
- Kandi Modified Ladder Joke Cuff
- Kandi Rotator Cuff Fidget Bracelet
- Kandi Jellyfish Critter Charm
- Kandi Sell-Your-Singles Starter Guide
- Kandi Silly Comp Inspiration Stack
- Kandi Personality Singles and Cuffs Mix
- Kandi Mini Bead Bag Accessory
- Kandi Multi-Stitch Spike Cuff
- Kandi Pony Bead Lizard Bracelet
- Kandi Giant TikTok Idea Roundup
- Kandi Critter Tutorial Mix Bracelets
- Kandi Stim Fidget Bead Bracelet
- Kandi Flat Mouse Head Necklace
- Kandi Scene Cuff Comp Ideas
- Kandi No-Tutorial Showcase Bracelets
- Kandi Giant Oversized Cuff Bracelet
- Kandi Lip Balm Holder Pouch
- Kandi Stretch String Basics Guide
Singles, Cuffs or 3D: Picking the Right Format for a Joke
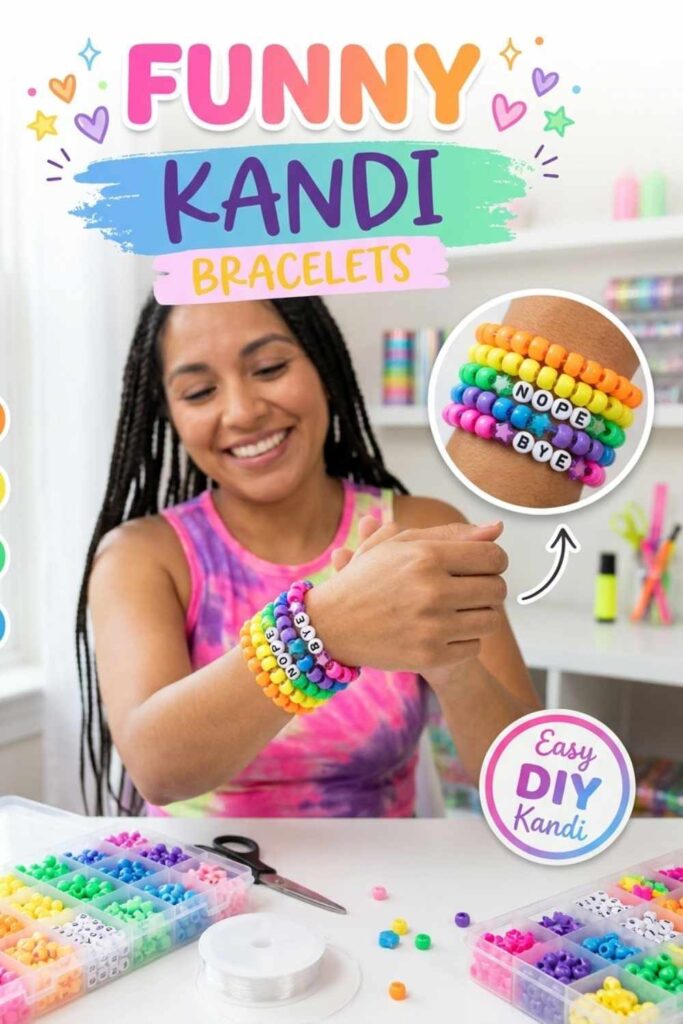
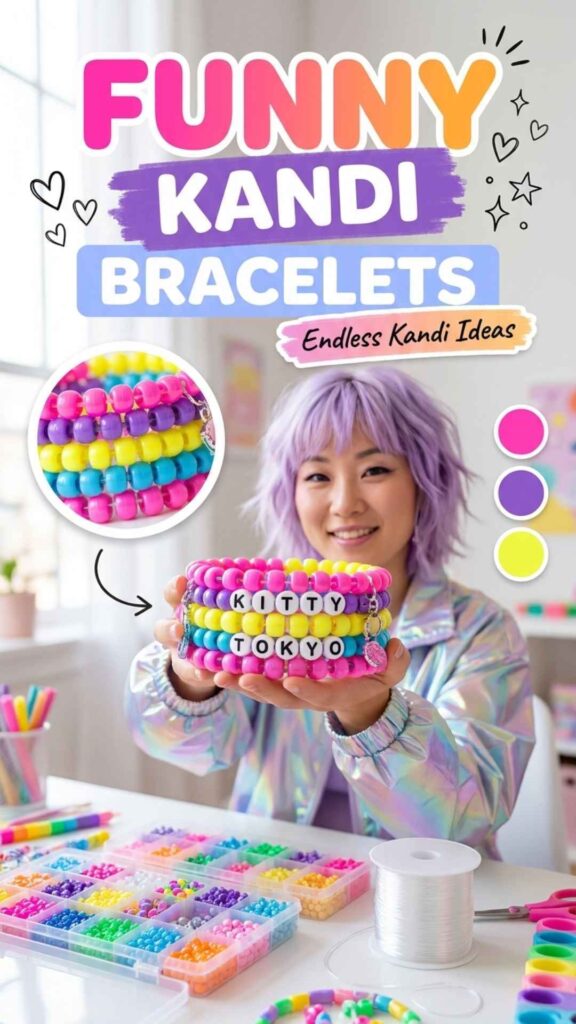
Singles are the fastest way to deliver a punchline. A short phrase in alphabet beads on a single stretch band takes a few minutes, costs little and is easy to trade. Keep words short, ideally under ten letters, so the phrase reads clearly and the bracelet still fits comfortably.
Cuffs give you more room. X-base, ladder and multi-row cuffs make a wide surface where you can bead pixel memes, color jokes or a word in a contrasting row. They take longer and use far more beads, so plan your pattern on graph paper before you start.
3D pieces and critters, like lizards, jellyfish and rotating cuffs, get their humor from shape, not words. They’re great for trading because people remember them, but they take patience and careful counting. Try a simple single or cuff first if you’re new to kandi.
Sizing, Stretch and Knots That Hold
A kandi bracelet has to slide over the widest part of your hand and then sit loosely on the wrist. Measure around your knuckles with the thumb tucked in, then use that as the minimum length. For cuffs, wrap the first rows around your wrist before building further, since fixing the size later means starting over.
Stretchy elastic string is the standard choice. Pre-stretch it a few times before stringing so it won’t loosen later. Avoid fishing line or plain thread for anything you plan to pull over your hand, because it can feel stiff and snap.
Finish with a secure knot, such as a surgeon’s knot, pulled tight, then add a small dab of clear jewelry glue. Once it dries, trim the tails and tuck them into a nearby bead. Fidget pieces and rotators take more strain, so check their knots often.
Colors, Themes and PLUR Trading Etiquette
Funny kandi often works best with loud, clashing colors. Neon, glow-in-the-dark and UV-reactive beads stand out at night events, while pastels suit cute critters. When you spell a word, pick a bead color that contrasts with the letters so the joke can be read from a distance.
When trading, the PLUR handshake (Peace, Love, Unity, Respect) is the classic way to swap a single. Always ask before trading, and never push someone who says no. Keep jokes friendly and inclusive, since the point is to make someone smile, not to offend.
For gifting, inside jokes beat generic phrases. A bracelet with a phrase only your friend group gets feels personal and is more likely to be kept and worn. Make a few extra singles before an event so you always have something to give back.
1. Kandi X-Base Meme Cuff Bracelet
This beginner-friendly x-base cuff gives you a wide, flat surface to fill with a joke, a meme phrase or a goofy pattern. LorasPlace’s tutorial is tagged for beginners, so it’s a good first cuff if you’ve only made singles. The wide face is what makes it work for funny kandi: there’s room for a punchline people can read from across the crowd.
Plan your meme pattern before stringing
Sketch your design on graph paper or in a free pixel-art app before you start, because changing an x-base pattern halfway through means unstringing whole rows. Short phrases and simple pixel icons read best on a cuff. Keep a few spare beads of each color within reach so you don’t run out mid-row.
Test the fit after a few rows
Wrap the first rows around your wrist before going further, since a cuff that is too tight is hard to fix later. It should slide over your hand with a gentle stretch. If it pinches, add a column to the base row and start over before you’ve built too much.
🌈 Supplies for the Kandi X-Base Meme Cuff Bracelet
Creator Credit: LorasPlace
2. Kandi 3D Statement Cuff Bracelet
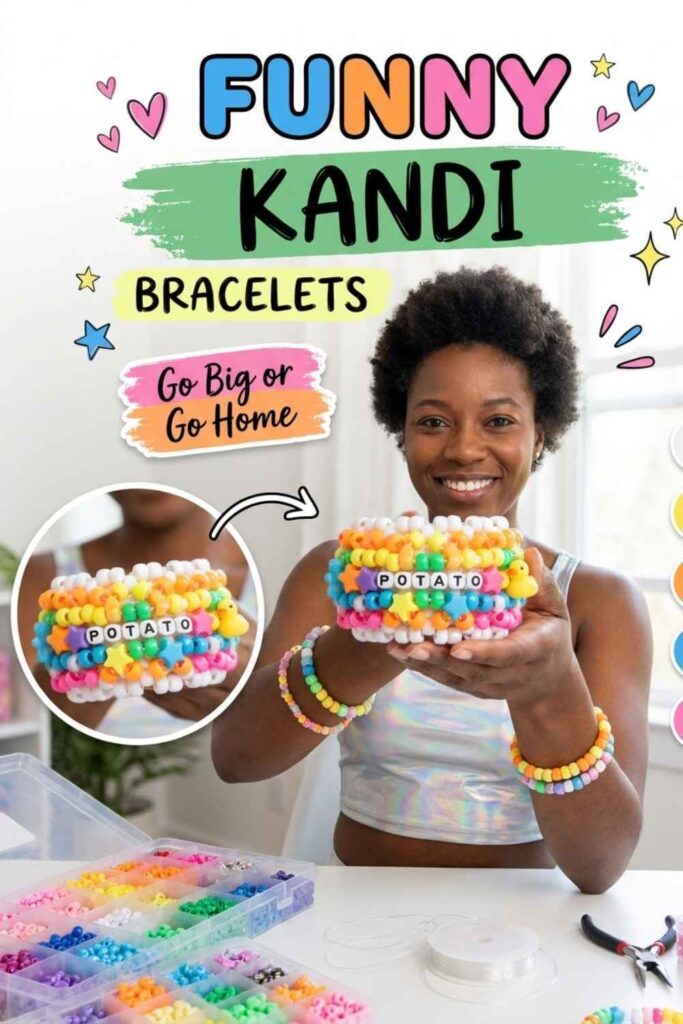
A 3D cuff stands up off the wrist, and that extra depth makes even a simple color pattern look bold and a little ridiculous in the best way. Kandi Toybox beaded tutorials walks through the build, so you can follow along to make a cuff thick enough to get attention at a rave. Make it in clashing colors or add a silly word single on top and it turns into a conversation starter.
Pull every pass snug for structure
A 3D cuff only holds its puffy shape if every pass of string is pulled firmly. Loose sections sag and make the cuff lean to one side. Stop now and then to squeeze the cuff gently and look for gaps before you go on.
Stack a funny single on top
To fit the funny theme, wear a thin alphabet-bead single with a joke phrase right next to the 3D cuff. The thick cuff draws the eye and the single delivers the punchline. Swap singles to change the joke without rebuilding the cuff.
🌈 Supplies for the Kandi 3D Statement Cuff Bracelet
Creator Credit: Kandi Toybox beaded tutorials
3. Kandi Modified Ladder Joke Cuff
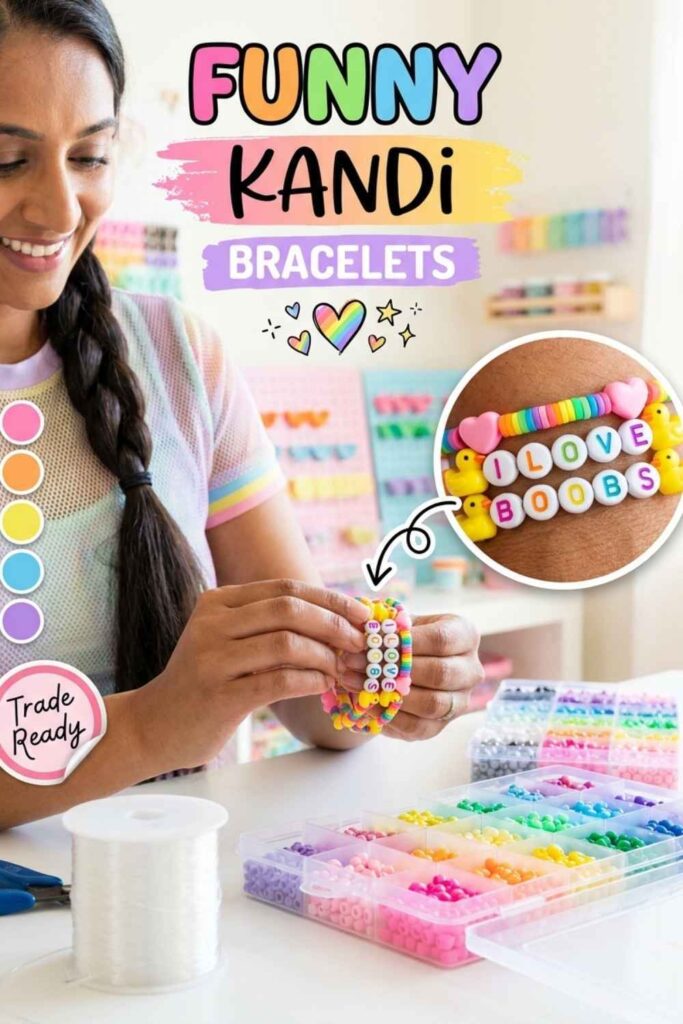
The modified ladder stitch gives you a cuff with more texture than a basic ladder, without the bead count of a full multi-row piece. In this Kandi Toybox beaded tutorials video, the stitch is taught step by step, and it’s quick enough to make several to trade. Make one in mismatched colors or add a letter bead row and you have a cheeky trade piece.
Keep a stitch counter beside you
Modified ladder cuffs repeat one sequence, and losing count is the most common reason the pattern goes off track. Make a small tally mark after each repeat, or keep a pile of spare beads that you move one by one. That way you can pick up again easily after a break.
Make a batch for trading
This cuff works well for trading at events like EDC because it’s quick once you know the stitch. Make a few in different color combos and keep them on a carabiner so you can offer a choice. A funny word or a silly color clash makes it easier to start a trade.
🌈 Supplies for the Kandi Modified Ladder Joke Cuff
Creator Credit: Kandi Toybox beaded tutorials
4. Kandi Rotator Cuff Fidget Bracelet
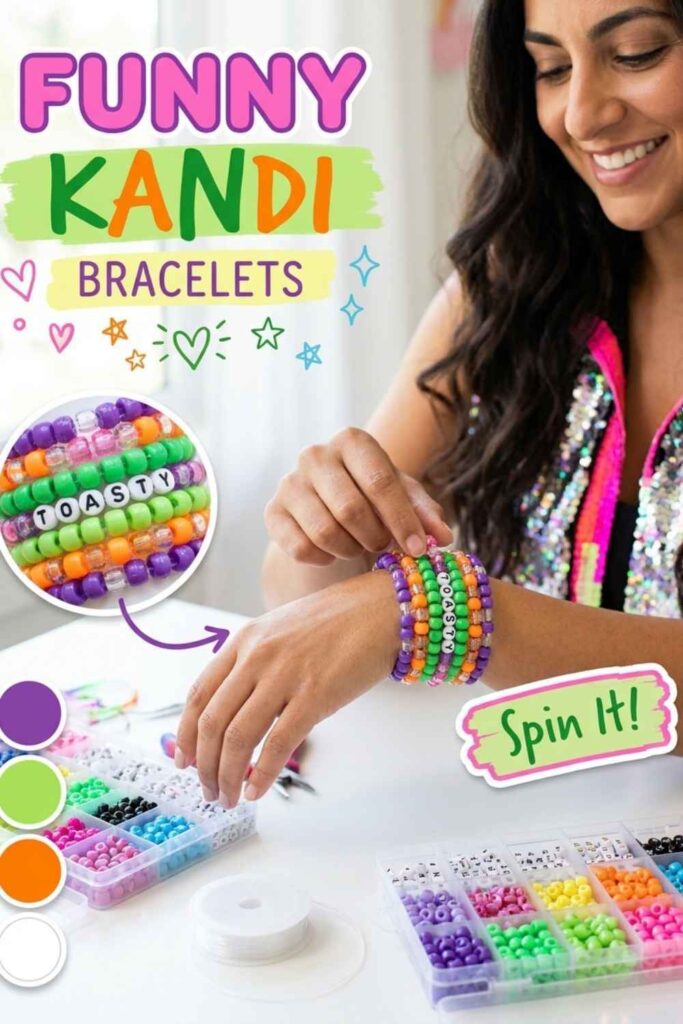
Toasty’s long tutorial covers two builds in one: the x-base cuff and the rotator cuff, which has rings you can spin around the band. A rotator is fun to fidget with and ends up as a toy you wear on your wrist, which suits a playful collection. Learn the x-base first, then use it as the foundation for the spinning layer.
Pause and replay the tricky parts
This is a long video, so watch it in sections and pause after each stage until your piece matches what’s shown. Rotator cuffs depend on the base being even, so don’t rush the x-base part. Bookmark the timestamp where the rotator section begins so you can jump back to it.
Leave room for the rings to spin
If the rotating rings are too tight they won’t turn, and if they’re too loose they flop around. Test the spin as soon as the first ring is attached and adjust before adding more. Contrasting colors on each ring make the spinning look more fun.
🌈 Supplies for the Kandi Rotator Cuff Fidget Bracelet
Creator Credit: Toasty
5. Kandi Jellyfish Critter Charm
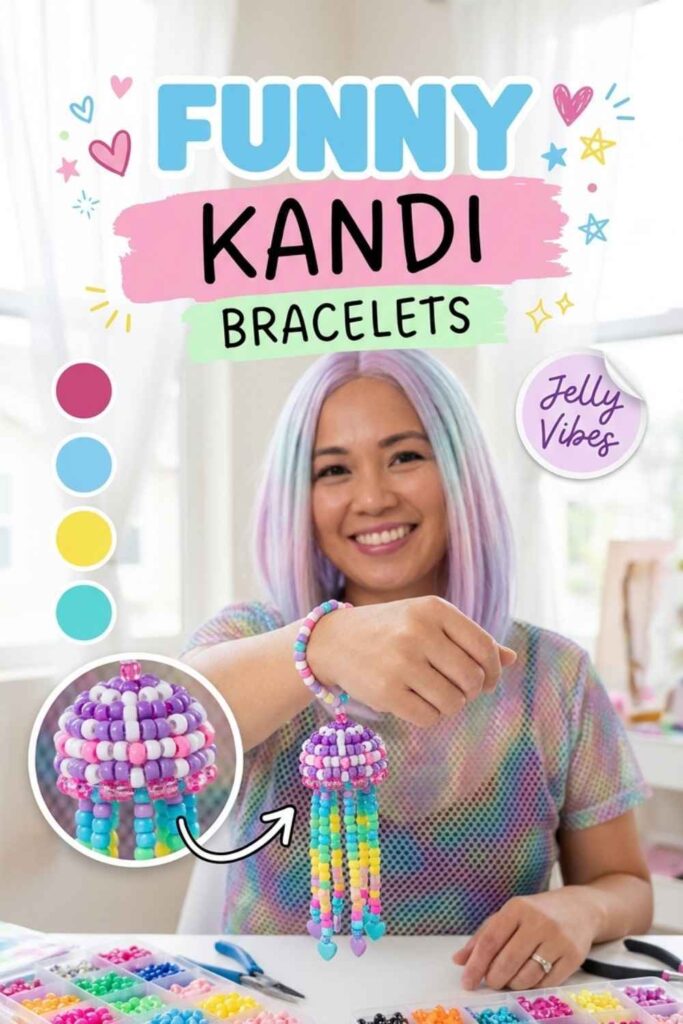
These beaded jellies make a cute, slightly goofy critter to add to your kandi, and Mood Kandi says they are easier than kandi mushrooms. The tutorial starts the same way as the mushroom, so if you’ve made one before you’re halfway there. Hang a jellyfish off a single or a cuff to give a plain piece some personality.
Start here before trying mushrooms
Mood Kandi points out that the jellyfish shares its first half with the mushroom build but is easier. If you’re new to 3D shapes, make the jelly first to learn the dome technique. Once that’s comfortable, the mushroom will go much faster.
Attach it to a single bracelet
Tie the finished jellyfish onto a simple single so it dangles like a charm. Pick a contrasting color for the single so the jelly stands out. Pastel or UV-reactive beads make it look like it’s floating under blacklight.
🌈 Supplies for the Kandi Jellyfish Critter Charm
Creator Credit: Mood Kandi
6. Kandi Sell-Your-Singles Starter Guide
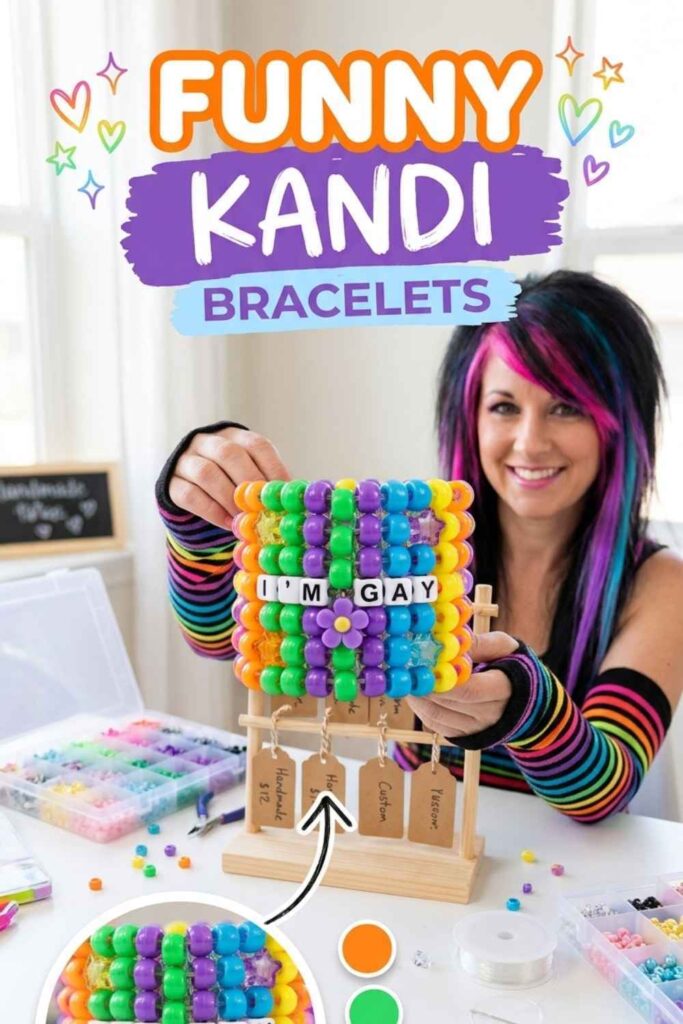
This is a beginner’s guide to selling your kandi and starting a small business, not a bracelet pattern. N3oncolourz’s guide is aimed at scene and kandi kids, so it fits right in if your funny pieces keep getting compliments. Joke bracelets and meme cuffs sell well because people buy them as gifts, which makes them a good line to start with.
Build a small line of joke singles
Start with a few alphabet-bead singles that spell short, funny phrases, since they’re fast to make and easy to price. Make a few of each phrase so you can restock quickly. Photograph them on a plain background so the words are easy to read.
Track your bead costs per piece
Before you set prices, count roughly how many beads and how much string each design takes. Add up your supply costs and your time so you’re not selling at a loss. Bigger cuffs need much higher prices than singles.
🌈 Supplies for the Kandi Sell-Your-Singles Starter Guide
Creator Credit: N3oncolourz
7. Kandi Silly Comp Inspiration Stack
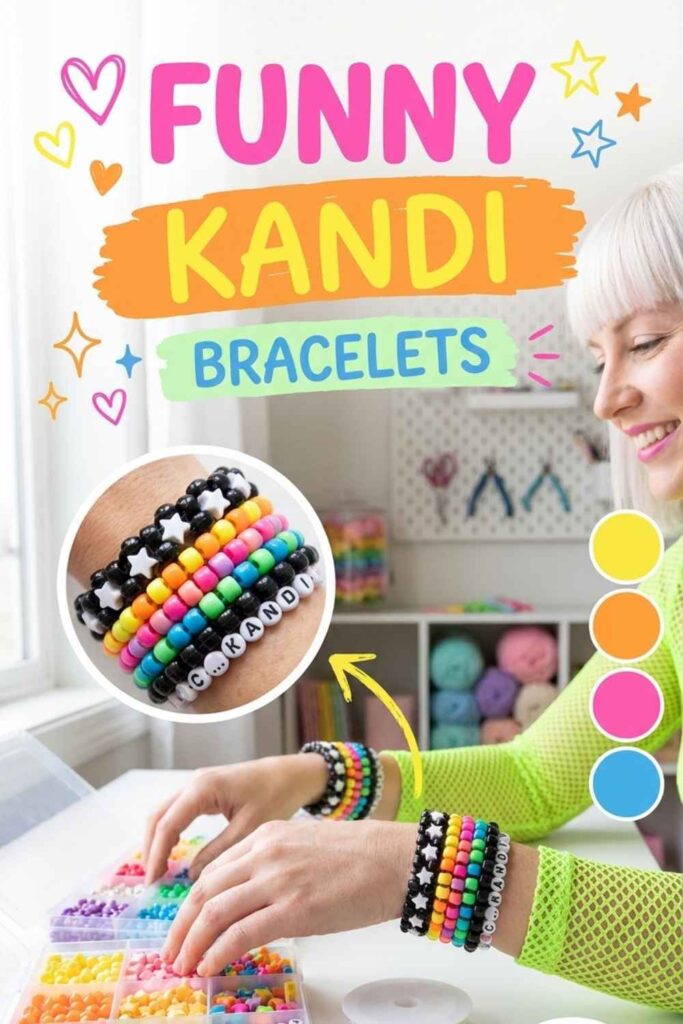
This kittytok compilation shows off kandi without tutorials, so it’s for collecting ideas, not following step by step. Watching a long run of finished pieces helps you spot shapes, color combos and word ideas you can adapt into your own funny stacks. Pause on designs that make you laugh and sketch them for later.
Screenshot designs you want to remix
Since there are no instructions, take screenshots of pieces you like and save them in one folder. Write down the colors and any words you see so you remember the idea. Later, match each one to a tutorial for the same type of bracelet.
Swap in your own inside jokes
Use the compilation as a starting point, then personalize it with phrases only your friends will get. An inside joke spelled in letter beads makes a piece feel made for someone. That also makes it a better trade or gift.
🌈 Supplies for the Kandi Silly Comp Inspiration Stack
Creator Credit: kittytok
8. Kandi Personality Singles and Cuffs Mix
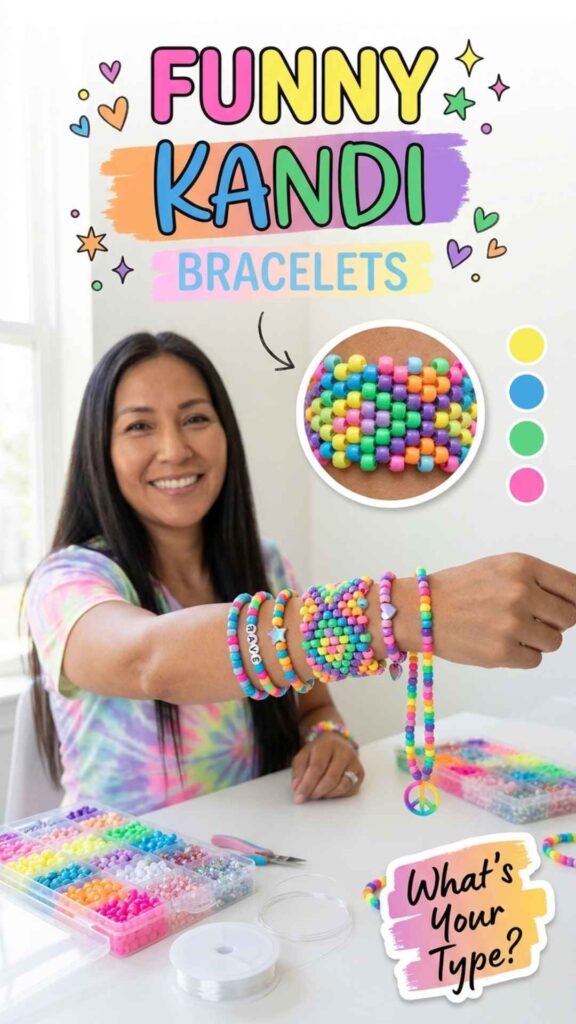
Kandi Kid gives a lighthearted breakdown of what your favorite kandi style, singles, cuffs or necklaces, says about you. It’s more of a fun personality video than a build tutorial, which fits a funny kandi roundup well. Use it to decide which style suits you best, then make a stack that shows it off.
Build a stack around your type
Once you know whether you’re a singles, cuffs or necklace person, plan a stack around that. Singles fans can layer several word bracelets, while cuff lovers can go for one bold piece. Mixing in one funny piece keeps the stack playful.
Make matching pieces for friends
Watch it with friends and make each person a bracelet that fits their result. A single that spells their kandi ‘type’ is a fun gift. It’s also an easy way to start trading with your group.
🌈 Supplies for the Kandi Personality Singles and Cuffs Mix
Creator Credit: Kandi Kid
9. Kandi Mini Bead Bag Accessory
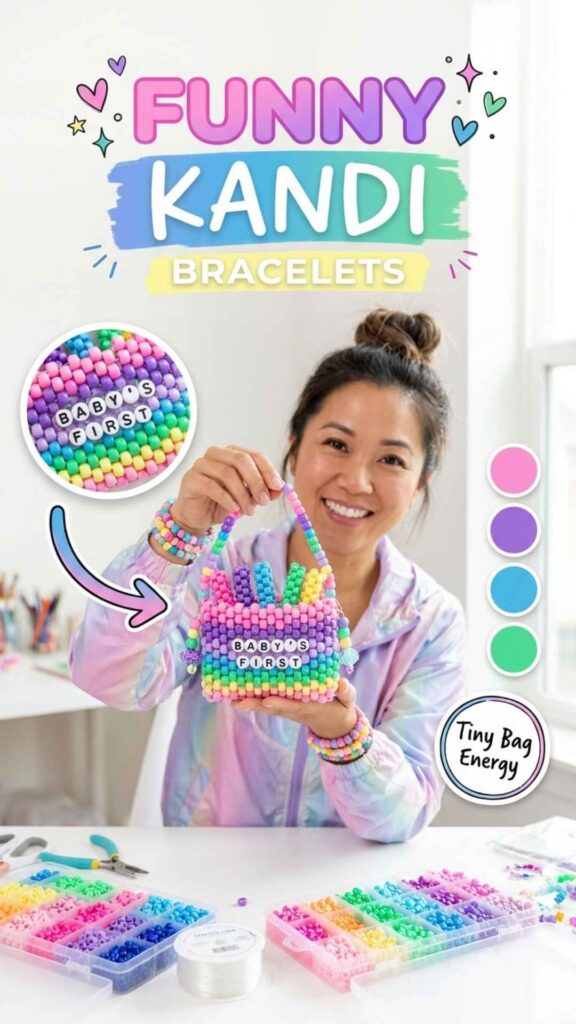
Nonchalant_toe’s video jokingly calls itself ‘not really a tutorial’ on how to make a small kandi bag, and that self-aware humor fits this list. The finished bag is a beaded pouch, not a bracelet, but it’s a fun way to carry or show off your funny kandi. Watch closely and pause often, since it’s a quick, casual walkthrough.
Pause often during this short video
Because it’s a short, casual walkthrough, the steps move fast. Watch it all once, then go back and pause at each stage while you bead. Taking your own notes on the order makes a second bag much easier.
Use the bag for trade kandi
A small kandi bag is handy for keeping trade singles together at a festival. Store a few funny word bracelets inside so they’re ready to hand out. It also keeps elastic away from sharp items in your main bag.
🌈 Supplies for the Kandi Mini Bead Bag Accessory
Creator Credit: Nonchalant_toe
10. Kandi Multi-Stitch Spike Cuff
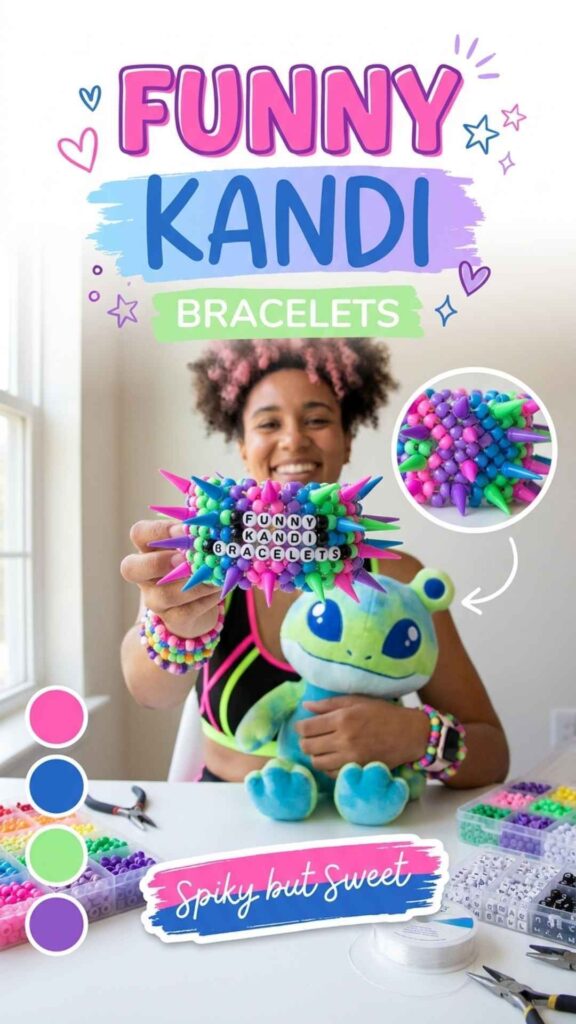
This multi-stitch spike cuff has beaded points sticking out, which gives it an edgy look that’s also a bit silly. ☆For3st_0n_pawz☆ made the tutorial on request for the ESSA community, so it’s a good match if you also make kandi for your emotional support stuffed animal. A spiky cuff in bright colors is a playful contrast for a funny collection.
Keep spikes even around the band
Count the beads in each spike so they all stick out the same length. Uneven spikes make the cuff look lopsided. Lay it flat after each section to compare spike heights.
Size one down for plushies
Since the video comes from the ESSA community, try a smaller version for a stuffed animal. Measure the plushie’s arm or neck with string first, then build to that length. A tiny spike cuff on a plush toy gets a laugh every time.
🌈 Supplies for the Kandi Multi-Stitch Spike Cuff
Creator Credit: ☆For3st_0n_pawz☆
11. Kandi Pony Bead Lizard Bracelet
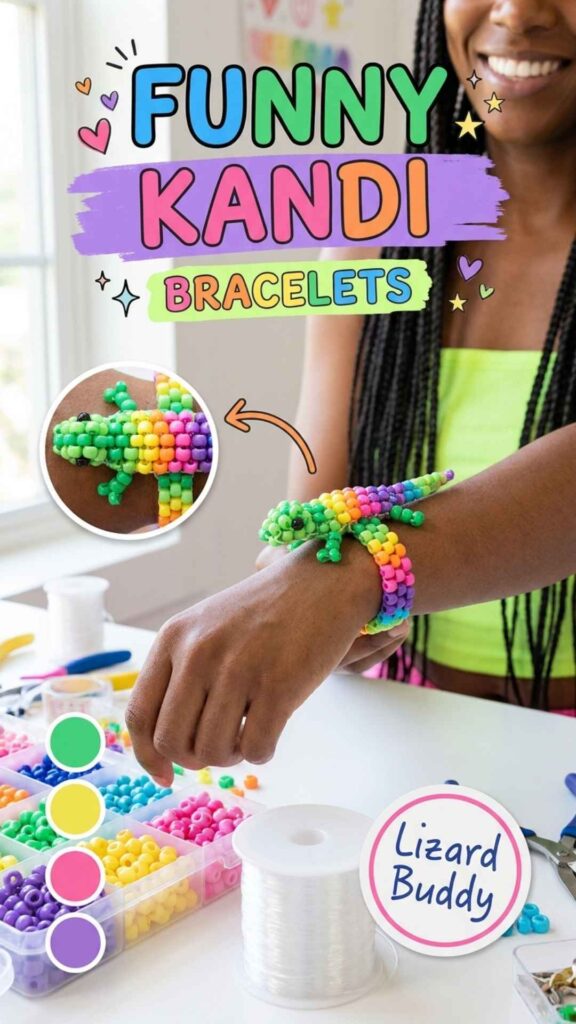
Ginger Cand-e’s tutorial shows how to make a classic pony bead lizard and turn it into a bracelet, with chapters for the head, arms, body, legs and tail. A beaded lizard riding on your wrist is a funny surprise, and it’s a known favorite for trading at music festivals. The chapter markers make it easy to jump back to any part of the body.
Use the chapters to work in stages
The tutorial is split into head, arms, body, legs and tail, so build one part per sitting if you’re short on time. Check that both arms and legs match before moving on. It’s easier to fix symmetry early than after the tail is done.
Make a lizard for festival trades
Ginger Cand-e notes these are great for trading at music festivals, so make a few in different colors. Bright or glow beads help them stand out in a trade pile. Give each lizard a silly name and you’ve got an instant icebreaker.
🌈 Supplies for the Kandi Pony Bead Lizard Bracelet
Creator Credit: Ginger Cand-e
12. Kandi Giant TikTok Idea Roundup
At well over an hour, this giant kittytok compilation is a huge collection of kandi clips to browse for ideas. It doesn’t teach builds, but the sheer number of pieces makes it great for finding joke designs, odd shapes and color combos. Put it on while you bead and pause when something makes you laugh.
Watch while you bead singles
Since it’s so long, play it in the background while you make simple singles. When a design catches your eye, pause and jot it down. You’ll get through your trade stash and find new ideas at the same time.
Sort saved ideas by skill level
Group the ideas you save into easy, medium and hard so you know what to try next. Start with funny word singles and work up to cuffs. That keeps you from getting stuck on a design that’s beyond you right now.
🌈 Supplies for the Kandi Giant TikTok Idea Roundup
Creator Credit: kittytok
13. Kandi Critter Tutorial Mix Bracelets
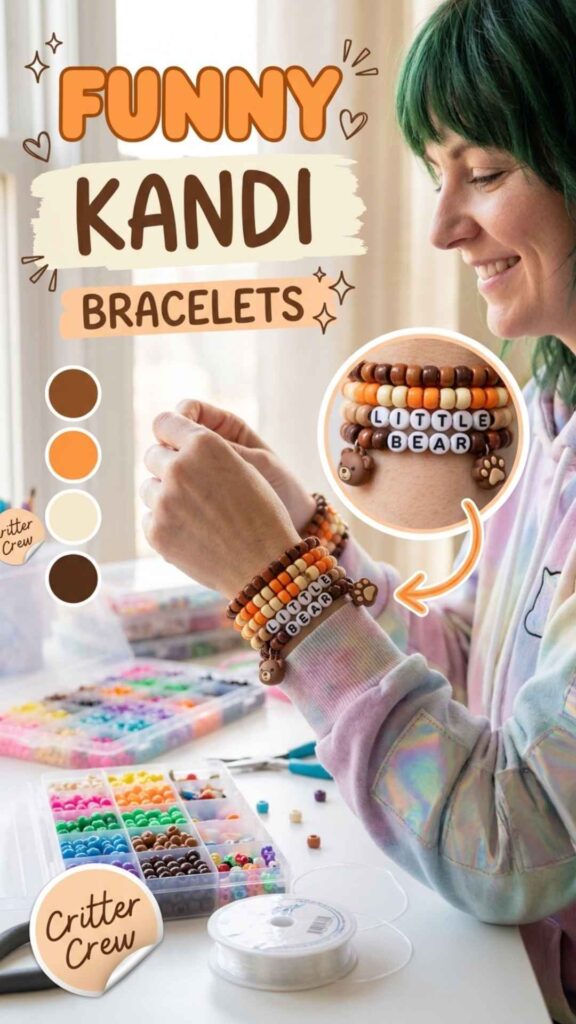
This short kandi tutorial compilation from ☆𝐧𝐢𝐤𝐨𝐥𝐚𝐢☆ packs several projects into about five minutes. The emoji in the title hint at paws, bats, planets and plants, so expect a mix of playful themes. It’s a quick way to pick up a few new ideas for silly trade pieces.
Slow the playback for short clips
Compilation clips move fast, so set the playback speed to 0.5x or 0.75x. Pause often and copy each step before moving on. Rewatching one clip at a time works better than watching the whole thing at once.
Add a pun word to each
Pair a critter-themed piece with a pun spelled in letter beads to make it funny. A short word next to the main design adds a joke without much extra work. Keep phrases short so they fit comfortably on a single.
🌈 Supplies for the Kandi Critter Tutorial Mix Bracelets
Creator Credit: ☆𝐧𝐢𝐤𝐨𝐥𝐚𝐢☆
14. Kandi Stim Fidget Bead Bracelet
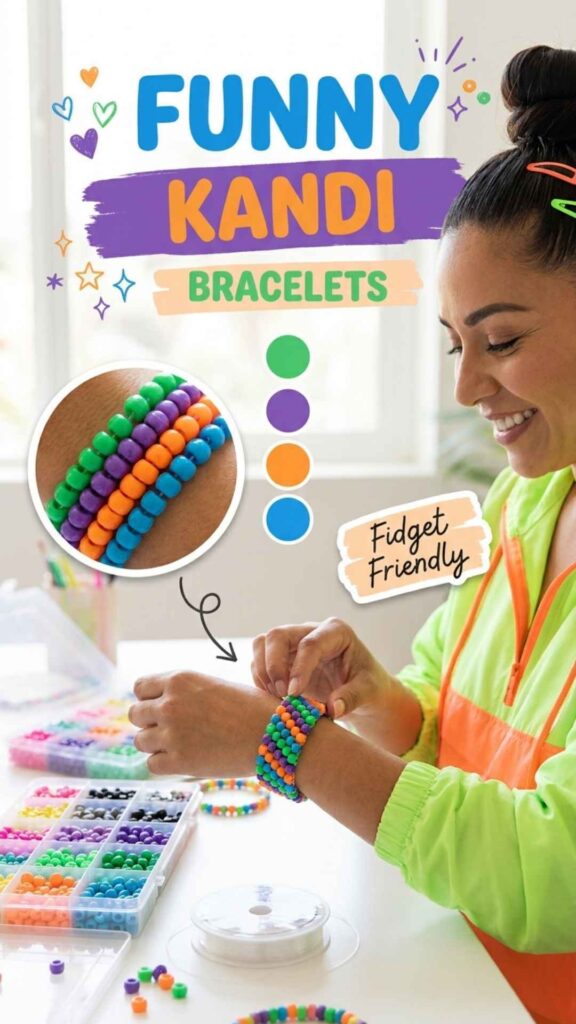
Justin Bennett’s tutorial covers a stimming bracelet made with pony beads, a design he says is easy to make and stands out from other bracelets. It’s made to be played with, which makes it a fun, fidget-friendly piece. Make it in loud, clashing colors and it’s as amusing to look at as it is to fidget with.
Pick colors that feel fun to fidget
Because this bracelet is meant for stimming, choose colors you enjoy seeing while your hands are busy. High-contrast pairs make the pattern pop as you move it. Make two in different colorways so you can swap them.
Check the knot after heavy use
A bracelet that gets fidgeted with a lot puts extra strain on the knot. Tie a secure knot, add a dab of clear glue and tuck the tails into the beads. Check it now and then and re-tie it before it slips.
🌈 Supplies for the Kandi Stim Fidget Bead Bracelet
Creator Credit: Justin Bennett
15. Kandi Flat Mouse Head Necklace
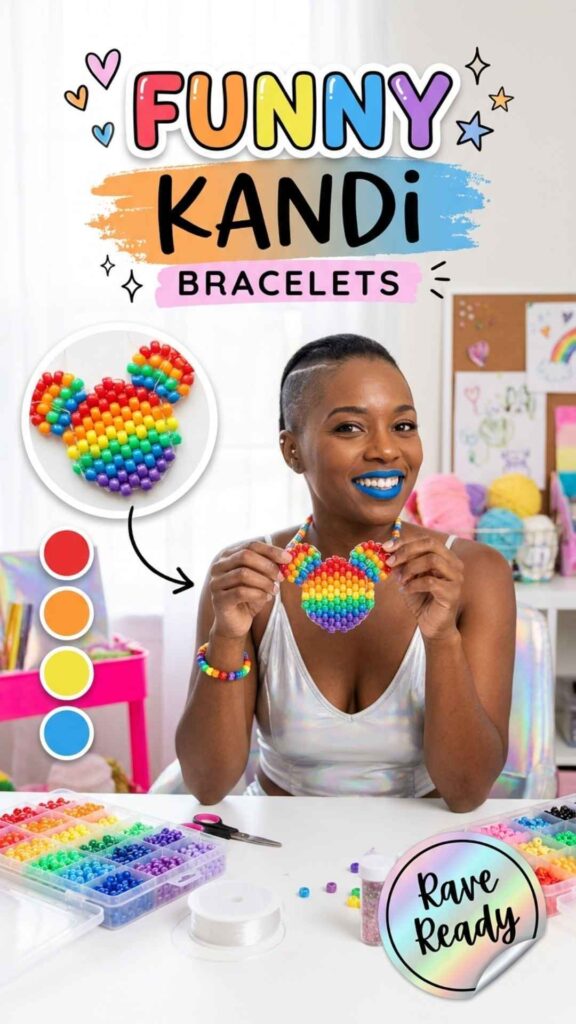
Ginger Cand-e’s tutorial teaches a flat kandi Deadmau5 head, a well-known rave symbol that’s tagged as a necklace project. The cartoonish mouse-ear shape is instantly recognizable and a little goofy, making it a fun statement piece for EDM fans. Wear it as a pendant, or pair it with a matching single for a full look.
Keep the ears round and even
The mouse ears are what make this design recognizable, so count the beads on each one carefully. Lay the piece flat while you work to check that both sides match. Pulling the string evenly keeps the flat shape from curling.
Turn it into a matching set
Make a single bracelet in the same colors to wear with the necklace. Add letter beads with a short, silly phrase on the single for extra humor. Matching sets also make great trades with other EDM fans.
🌈 Supplies for the Kandi Flat Mouse Head Necklace
Creator Credit: Ginger Cand-e
16. Kandi Scene Cuff Comp Ideas
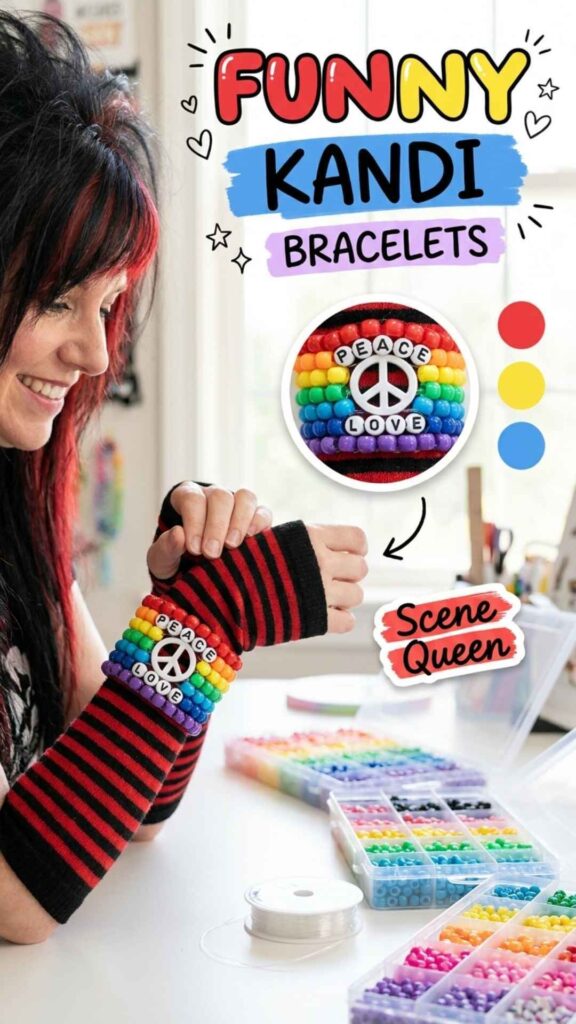
This is •₊‧candle‧₊•’s first kandi compilation, shared without tutorials and tagged for kandi cuffs and scene style. It’s a look at a personal collection, good for finding cuff ideas and bold scene color combos. Grab a design you love and give it a joke phrase or a silly color twist.
Match designs to cuff tutorials
Since no instructions are given, figure out which kind of cuff a piece looks like and search for a tutorial for that type. Once you know the base method, copying the colors is easy. Save the timestamp of each piece you want to try.
Go loud with scene colors
Scene kandi is all about bright, bold colors, which works for funny pieces too. Pair neon colors in unexpected combos for a playful look. Add a word row on a cuff for a joke people can read up close.
🌈 Supplies for the Kandi Scene Cuff Comp Ideas
Creator Credit: •₊‧candle‧₊•
17. Kandi No-Tutorial Showcase Bracelets
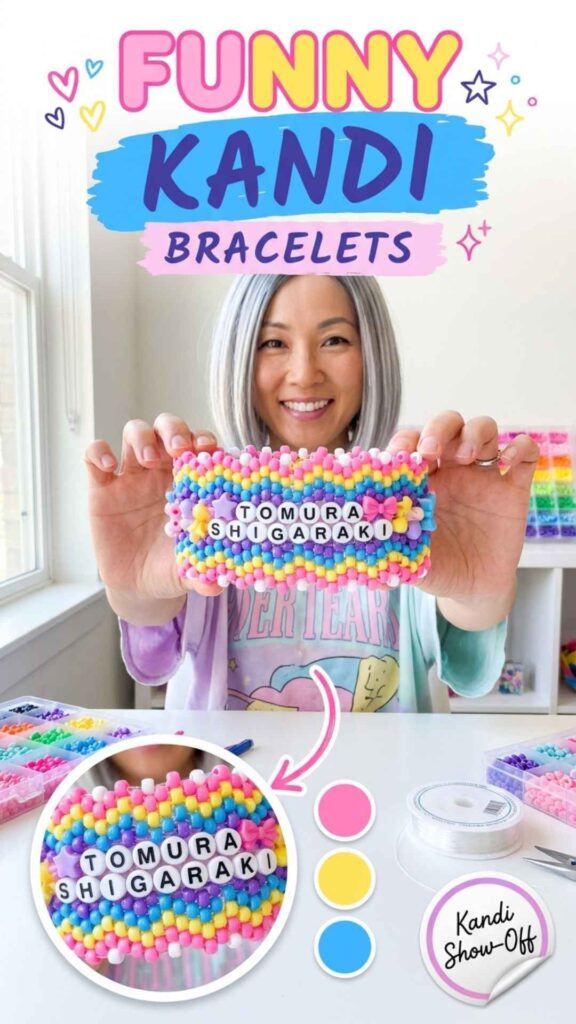
T0MUR4_SH1GARAKI shares a kandi compilation with no tutorials, showing finished pieces in about ten minutes. It’s a quick watch for spotting new ideas without a long build video. Use it to fill your idea list, then turn your favorites into funny word kandi of your own.
Note colors and shapes as you watch
Keep a notepad handy and write down the colors and shapes of pieces you like. Without instructions, those notes are your guide when you look for a matching tutorial. A quick sketch helps too.
Give each copy a funny twist
Instead of copying a design exactly, change one thing, like adding a joke word or a silly charm. That makes the piece yours and gives it a funny angle. It also makes your trades stand out.
🌈 Supplies for the Kandi No-Tutorial Showcase Bracelets
Creator Credit: T0MUR4_SH1GARAKI
18. Kandi Giant Oversized Cuff Bracelet
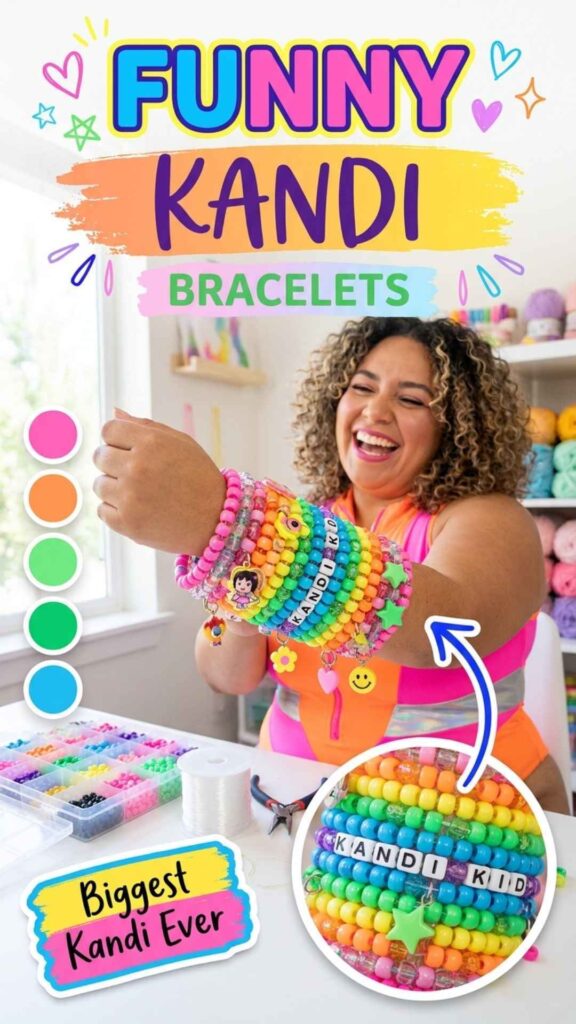
Kandi Kid shows off their biggest kandi ever, a huge cuff, and talks about how it was made and what went into creating it. The video also covers other oversized pieces like a kandi bucket hat, a panel and a kandi gun. A cuff this big is funny all on its own, since it’s so oversized it’s hard to miss at a rave.
Stock up before starting big
An oversized cuff uses far more beads than a normal one, so buy extra of each color before you start. Running out mid-project can make it hard to match shades. Sort everything into containers so you don’t lose track.
Check it fits over your hand
Big cuffs can get heavy and stiff, so test the fit often as you build. It should still slide over your hand without straining the string. Store it flat when you’re not wearing it so it keeps its shape.
🌈 Supplies for the Kandi Giant Oversized Cuff Bracelet
Creator Credit: Kandi Kid
19. Kandi Lip Balm Holder Pouch
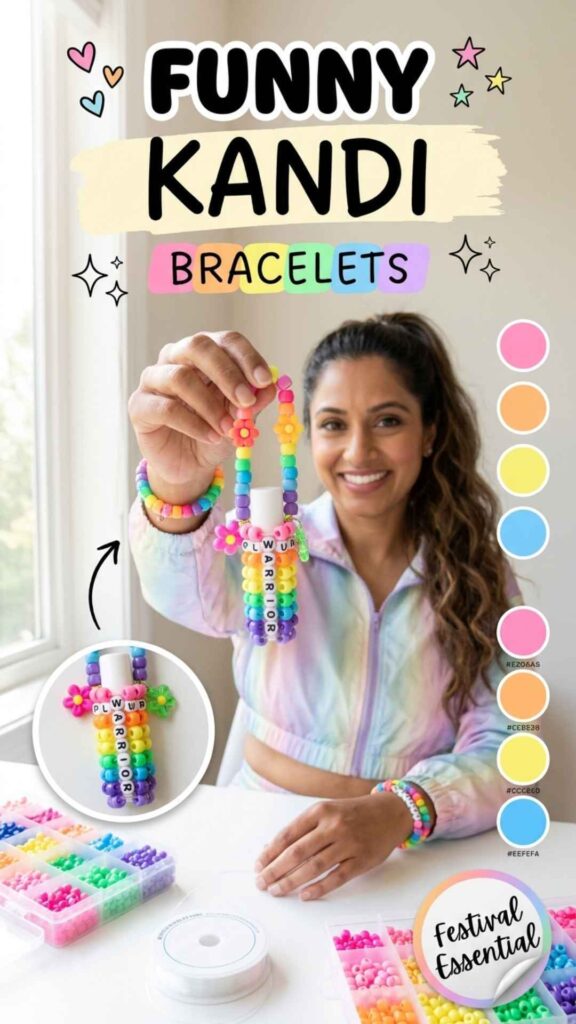
Chicken nugget taco’s tutorial shows how to make a kandi chapstick holder, a useful little beaded accessory and a nice break from bracelets. A goofy channel name and a practical project make this one a fun addition to the list. It keeps your lip balm handy at festivals and matches the rest of your kandi.
Measure your lip balm first
Hold your chapstick against the work as you go so the holder isn’t too tight or too loose. A snug fit keeps it from sliding out but still lets you pull it free. Different brands have slightly different sizes, so build for the one you use.
Match it to your bracelet stack
Use the same colors as your favorite bracelets so the holder looks like part of a set. Add a letter-bead word to the side for a funny touch. It also makes a quick, low-cost gift for a rave friend.
🌈 Supplies for the Kandi Lip Balm Holder Pouch
Creator Credit: Chicken nugget taco
20. Kandi Stretch String Basics Guide
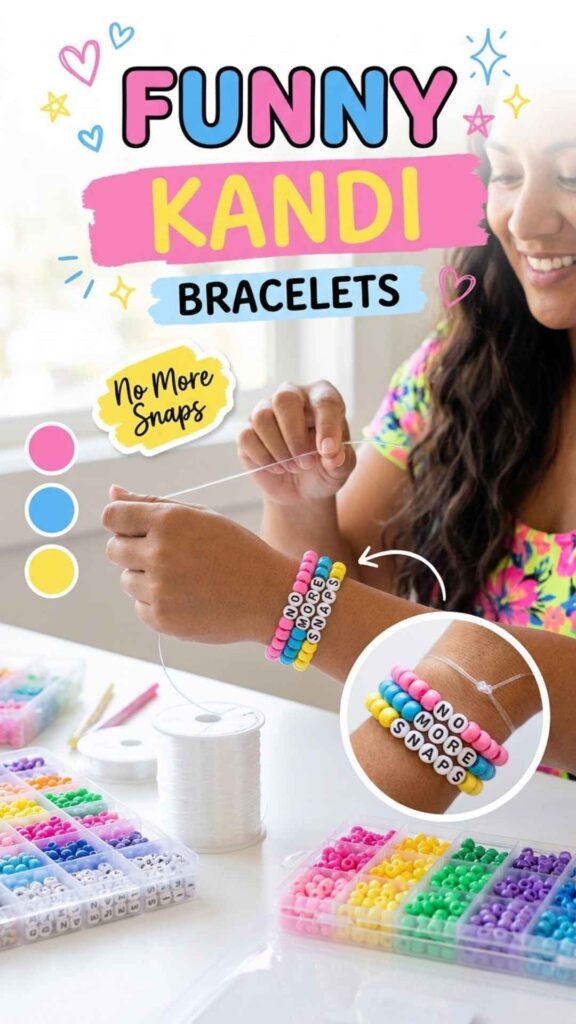
This short guide from Rubenakayoshii explains why stretchy elastic string is the best choice for kandi singles, multi-layer cuffs, lovers cuffs and rotators. It isn’t a bracelet pattern, but it helps keep your funny pieces from snapping mid-rave. The video explains how non-stretch string, fishing line or thin thread can make kandi break, feel stiff or lose its shape.
Pick stretch cord for every project
Rubenakayoshii recommends stretchy elastic string because it slips over your hand and holds knots securely. That matters most for joke singles you’ll trade and wear a lot. Avoid fishing line or plain thread, which the video says can break or feel stiff.
Pre-stretch string before you bead
Gently pull a length of elastic a few times before stringing so it doesn’t loosen later. That helps cuffs keep their structure over time. Tie a secure knot and add a dab of glue to finish.
🌈 Supplies for the Kandi Stretch String Basics Guide
Creator Credit: Rubenakayoshii
Which Kandi Style Fits You?
| Style direction | Projects to compare | Main feature | Check before choosing |
|---|---|---|---|
| Wide cuffs for words and memes | 1, 2, 3, 16 | Room for a readable joke, pixel pattern or color clash | Plan the pattern on paper and test the fit after a few rows |
| Fidget and texture pieces | 4, 10, 14 | Spinning rings, spikes or stim designs you can play with | Knots take extra strain, so glue them and check them often |
| 3D critters and characters | 5, 11, 15 | Shapes that get a laugh without needing any words | Count beads carefully so both sides match |
| Idea compilations and showcases | 7, 12, 13, 17 | Lots of finished designs to remix with your own jokes | Most have no step-by-step instructions, so pair ideas with a tutorial |
| Oversized and personality pieces | 8, 18 | Big, bold kandi that matches your style | Stock up on beads and make sure it still slides over your hand |
| Accessories and know-how | 6, 9, 19, 20 | Bags, holders, string tips and selling advice | These aren’t bracelet patterns, so use them to support your other projects |
Conclusion
Funny kandi works because it makes people smile before you’ve said a word. If you want a joke people can read, start with the Kandi X-Base Meme Cuff Bracelet or the Kandi Modified Ladder Joke Cuff. If you’d rather get laughs from shape, the Kandi Pony Bead Lizard Bracelet and the Kandi Jellyfish Critter Charm are proven crowd-pleasers.
For something to keep your hands busy, try the Kandi Rotator Cuff Fidget Bracelet or the Kandi Stim Fidget Bead Bracelet. Whatever you make, use good stretch string, as the Kandi Stretch String Basics Guide explains, and bring a few extra singles to trade. Kandi is meant to be passed on, so keep a handful of joke singles ready for your next show.
Frequently Asked Questions
What makes a kandi bracelet funny?
A kandi bracelet is funny when it uses a joke phrase, a meme, a pun or a silly shape. Alphabet beads let you spell short punchlines, while 3D critters like lizards get a laugh from their shape. Clashing neon colors can add to the humor too.
What are some funny words to put on kandi bracelets?
Short phrases work best, such as puns, inside jokes, meme phrases or playful words like ‘SNACK’ or ‘NAP TIME’. Keep it under about ten letters so the bracelet still fits comfortably. Inside jokes with friends often make the best gifts.
How do I make a kandi bracelet with words?
String alphabet letter beads in order on stretchy elastic string, with plain pony beads on both sides to fill out the length. Check that the letters face the same way before tying off. Finish with a tight knot and a dab of clear glue.
What string is best for kandi bracelets?
Stretchy elastic string is the standard choice because it slips over your hand and holds knots well. Avoid fishing line or plain thread, which can feel stiff and snap. Pre-stretching the elastic before stringing helps it last longer.
Is it okay to trade funny kandi at raves?
Yes, funny kandi is great for trading and often makes it easier to start a conversation. Always ask before trading and accept a no politely. Keep jokes friendly and inclusive so the trade feels good for both people.
How do I keep my kandi bracelet from breaking?
Use stretchy elastic string, pull a secure knot tight and add a small dab of clear jewelry glue. Trim the tails and tuck them into a nearby bead. Avoid overstretching the bracelet when you put it on.